Sunday, October 28, 2012

Not so scary costume party

With Halloween being a few days away, I wanted to share some of the pictures from my children's annual not so scary costume party. I even made my first attempt to do a desert table, I enjoyed doing it and look forward to trying it again. I used some store bought items and added some Halloween touches to them. Look for links under the pictures for instructions. I purchased all of my supplies from Target's dollar section, Dollar Tree, Michaels and my table cover and napkins came from Party City.

I wanted to make sure I set the tone as the kids came to the door so I decorated my entry way


(Spooky signs: Target Dollar Section) Wreath Tutorial here


Some of the decorations around the house

Luminary Bucket : Target Dollar Section
Boo & Beware: Target Dollar Section, Spider Pumpkin Decorating Set Target Seasonal Section
Craft Pumpkin & Spider Rings Michaels ( I added the kids candy bags later, forgot to take a picture) 
A few more Decorations 

 Paper Fans: Party City (My brother in the background) 


And my favorite part of doing this party...My very first desert table!!!!!


Cookies made by me using my Wilton Round Pops Cookie Pan (recipe here) Wilton Cookie Icing and Wilton Sparkle Gel in Orange and Black (Can you tell I LOVE their products)  The labels came from Squared Party Printables Etsy Shop

Saw these on Pinterest from Picture Me Cooking


Chocolate Covered Oreos with Halloween Candy Sprinkles 


Yummy Brownies these were super moist they were breaking apart (made by my sister) 

 Made with Pretzel Rods dipped in Green Chocolate Candy Melts (Wilton of Course) Almond Slices and tooth-pics used to make lines on fingers 

I even incorporated the food in the theme 


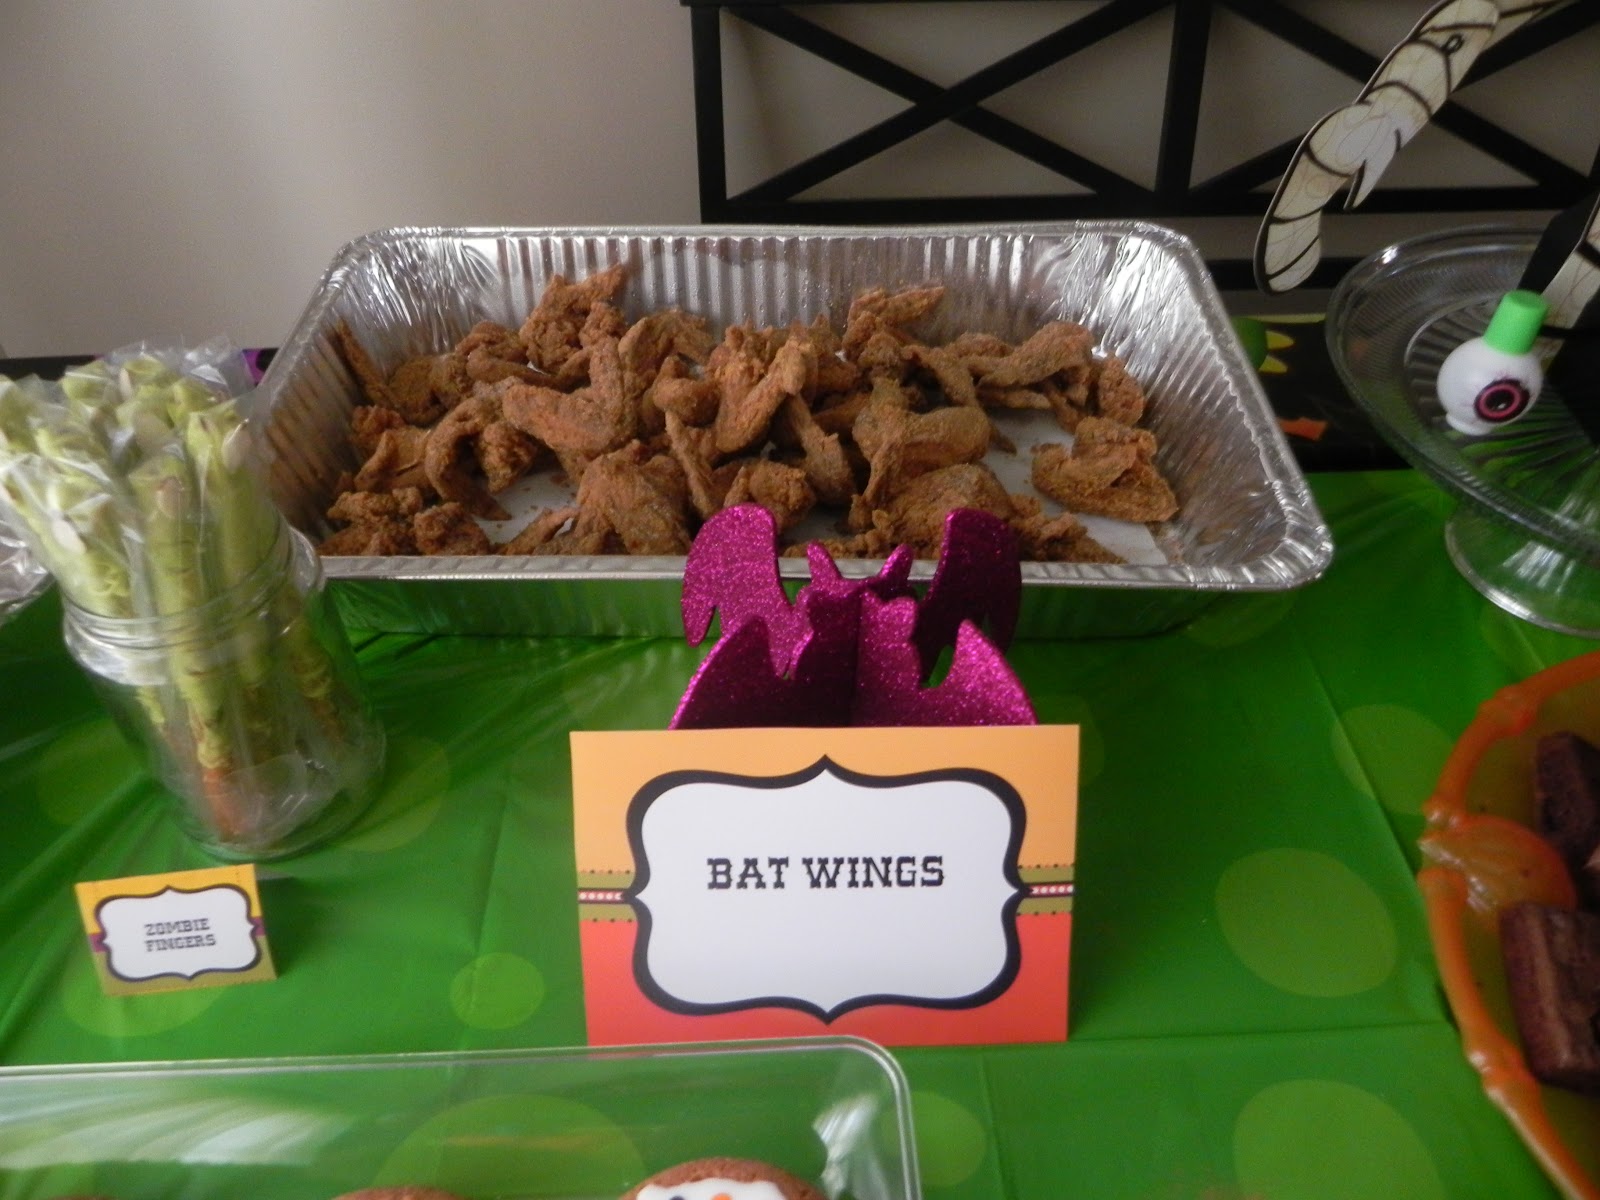
Bat Wings:  AKA Chicken Wings

Bones: AKA French Fries

Here are the kids

Making a potion of V8 Splash, baking soda and vinegar (my sister is the lady bug wearing a tutu made by me) My cousin in the background taking pictures too 

Playing Pin the Nose on the Pumpkin


Playing Bingo


Posing for pictures


Here is my baby girl enjoying the party too

Her makeup didn't last very long 


My son dressed as Mario ( he didn't like his mustache)

The kids had a blast and my son is already asking about a Christmas Party. Truth be told I am looking forward to doing the next one too. 

Tuesday, October 16, 2012

Ribbon Wreath Tutorial


Last year around mid October my five year old wanted to know why we don’t decorate the outside of the house Halloween.  My response to him was maybe next year.  So next year is here and he did not forget.  Browsing through the aisles of the stores if it was gruesome, bloody or scary my son wanted to put it in our yard. I have never been a fan of the creepy décor, so we came to a compromise of spider webs with tiny spiders in the bushes and Jack-O-Lantern luminaries on the stairs. There was something missing, and I couldn’t figure out what. So I took to  Pinterest for some inspiration  and found this ribbon wreath done by Tatertots & Jello


Pretty, Right?  And perfect for my empty front door. So off  to Michaels  with my mobile coupons I went to get my supplies. Here is what I purchased (My ribbon choices were random I bought what I liked)
·         14 Inch Round Foam Wreath Form (I paid $5.99)
·         Three 5 yard spools of 1 ½ inch ribbon
·         One  6 yard spool of 5/8 inch ribbon
·         Two   3 yard spools of 5/8 inch ribbon
·         Two 5 yard spools of 7/8 inch ribbon
Other Supplies I used that I already had
Glossy black acrylic paint
Foam paint brush
Hot glue gun (some use pins, I prefer to use my glue gun)
Plastic table cloth  
Ruler

First I painted my wreath black and left it out to dry 


Then I went about the task of cutting my ribbon into strips. I cut my ribbon into 4 inch strips. What I would suggest is before cutting your ribbon make a loop on the end, adjust the loop until you like how it looks then measure to see how many inches you need to cut each strip of ribbon. At this point I was wondering if  I had enough ribbon, it just doesn't look like much but it was more than enough. Yes I actually had some ribbon left over, maybe I should make a mini wreath too.


Once all my strips were cut I then glued they ends of each strip together to form a loop like this


sorry about the glare on the table I needed my flash


 Here is all the ribbon in loops. 


Next I started to add the ribbon to the wreath, I started with my 1 1/2 inch ribbon so  I could use the smaller ribbon to fill in any gaps.


 Then  I continued randomly adding more of the same color 


Continue adding ribbon of the same size until all colors are used 


Now that  I have added all of my colors I just went and filled in any gaps that were showing on the wreath.


Here is my finished wreath on my front door.


Monday, October 15, 2012

Makeup Monday

What a better way to start off the week than with a little something to pamper yourself with.  As moms we spend so much time taking care of everyone else that we often skip steps in taking care of our-self.  So each week we will feature beauty and wellness tips from Makeup and Martinis Chicago.
Makeup and Martinis Chicago is a beauty event/expo company founded by Angela Lee, that provides pampering events with a twist to women throughout the Chicago-land area. Also offering mobile spa services, private parties and makeup lessons. This weeks featured tip is radiant skin during the fall and winter months. After you have achieved that radiant look make sure you check out the tips to flawless foundation to give your skin a fresh clean look.


Radiant Skin During the Fall/Winter Months

by Angela Lee


One thing I think we all can agree on in the "windy city" of Chicago is that we rarely experience all four seasons. We typically witness the feel of summer and then a winter. There's not much time to prepare with the advantages of what spring and fall can bring. So with that being said, we need to prep our skin now so that we can still maintain that moist and healthy skin that we tend to experience more during the warmer months.

1. I always stress a daily skin care regimen regardless of what time of year it is. It's important to guide your skin at all times. Without a daily skin care regimen, your face and body are clueless and it's looking for direction. So when we're not training our skin with the use of regular skin care products, our skin is a little lost and it will react accordingly.

2. Always remember to moisturize. Utilizing an ointment that is oil-based as opposed to water-based during the winter months tends to prove to be more effective. The reason for this is because the oil will create a protective layer on the skin that retains more moisture than a cream or lotion. But make sure it's a non-clogging oil as we know this leads to breakouts.

3. Continue to use skin care products/makeup that have sunscreen in them. Even during the winter months, the sun still shines in the winter and it can also glare off of the snow which can still damage your skin.

4. Use a humidifier in your home. When we use our central heating systems, including space heaters, they tend to blast out hot, dry air. The use of a humidifier provides more moisture in the air which helps prevent your skin from drying out. And if you place several humidifiers in your home, this can distribute the moisture more evenly.

5. Avoid steamy hot baths and showers. I know when it's cold outside, I enjoy a hot bath myself but this is counterproductive as it breaks down the lipid barriers in our skin which can lead to loss of moisture. So it would be more beneficial to soak or take a shower in lukewarm water for a shorter period of time. Hey and one things for sure. The less time you're in the water, the less water you're utilizing, thus conserving and saving money on your water bill :).

Don't forget our upcoming event: "Iconic Beauty" will be held at Kanvas Salon and Spa in Tinley Park, Il on October 20, 2012!!! General admission is only $10. Purchase ticket here.


Saturday, October 13, 2012

Welcome to the Classy Crafty Mom

"Giving information that will help everybody live better. That's a teacher's dream—to accumulate information and disperse it in a form that allows people to choose the way they're going to use it. That's what I think I do best." Martha Stewart 


This is the goal of my blog, best stated by the infamous crafter Martha Stewart.  I'm a wife and mother of two with love of all things crafty. I want to share with you the awesome (my 6 year old's favorite word) things that I attempt to create or duplicate from around the web and of my own. So here goes...I hope you enjoy reading my posts as much as I enjoy making the things I post about.